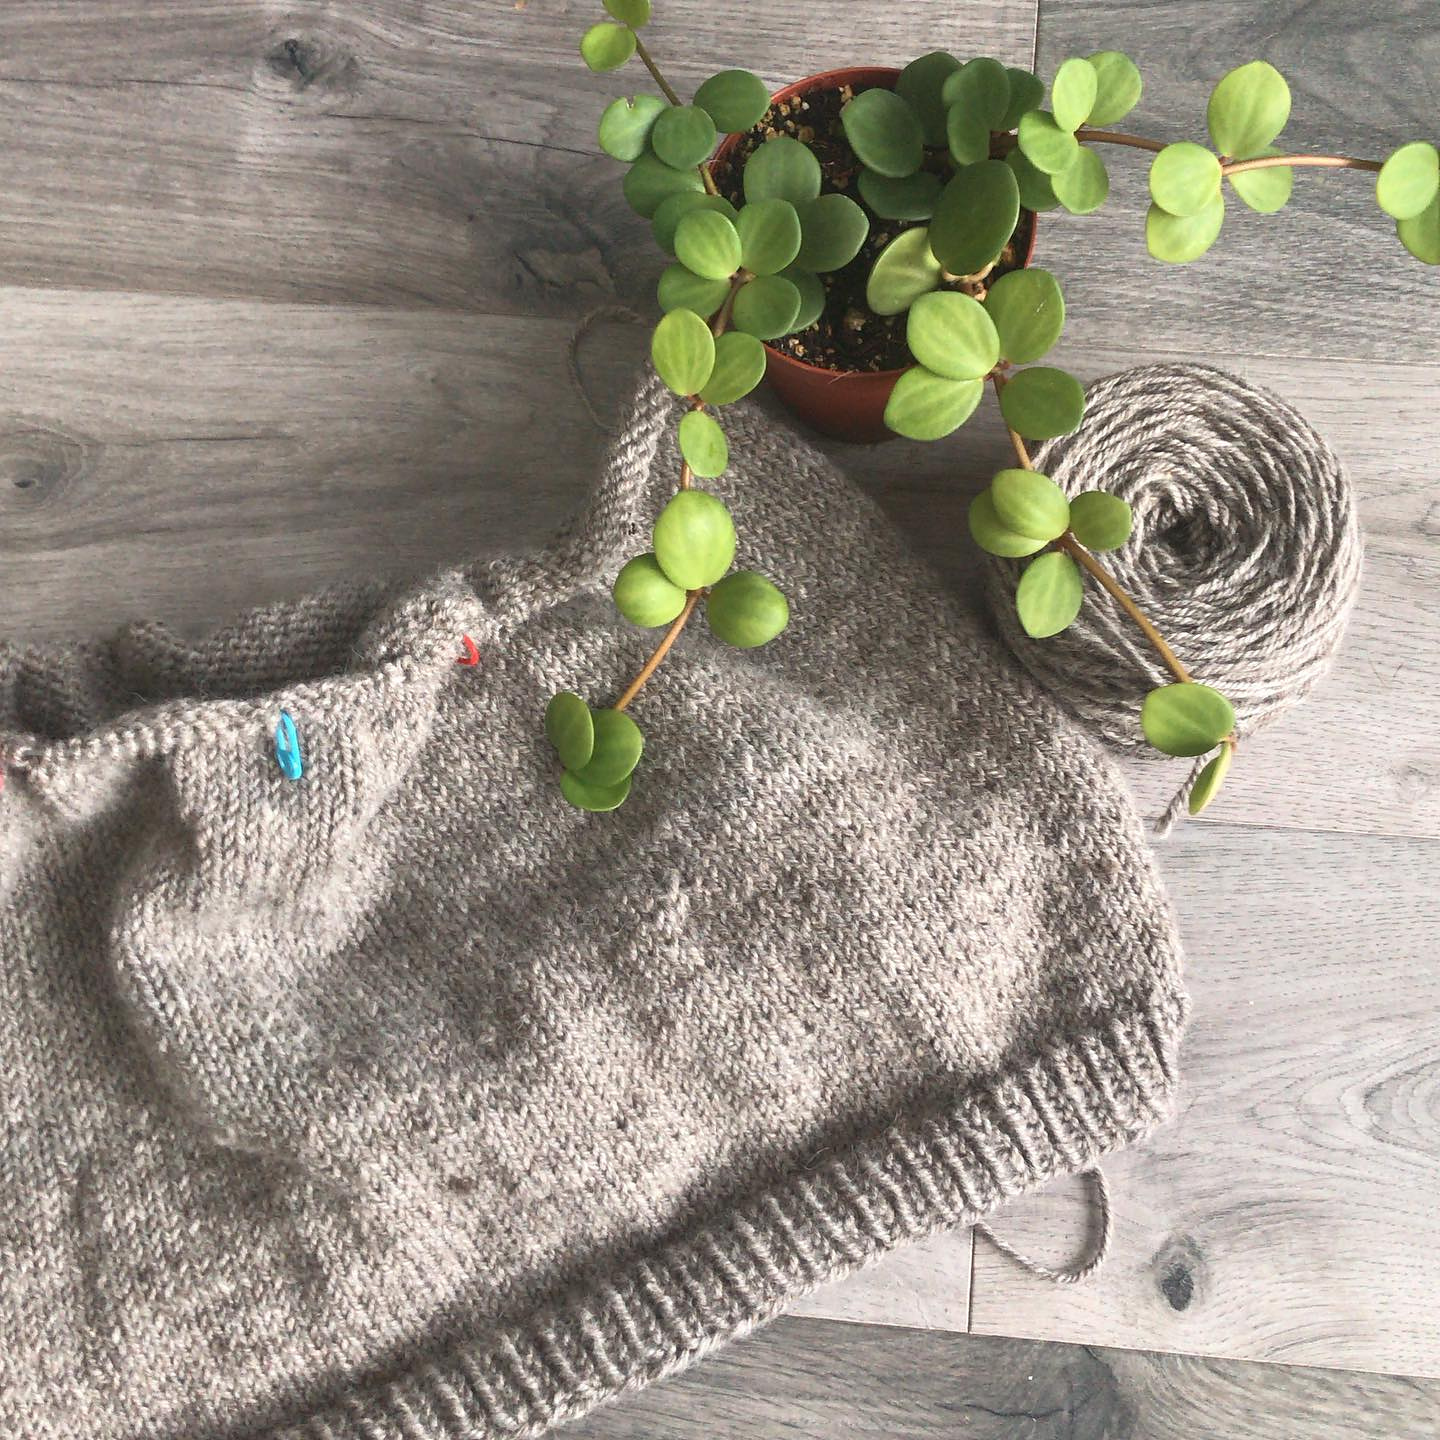
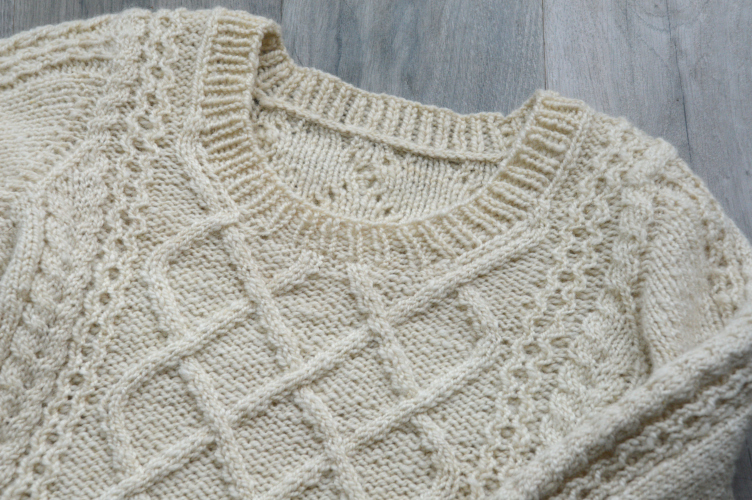
In my previous post I discussed the idea of spinning for my first handspun sweater project. In this post I’m going to talk about the details a bit further. I’ll be discussing the specific steps I took, and relating them back to my Juniper sweater spin in 2018, but the general concepts can be applied not only to any sweater, but for any project you might want to spin specifically for.
Planning the Project
This is when most of the thinking happens, and for the purposes of this blog post, let’s assume you’ve found the perfect pattern and want to spin specifically for it. While I’m speaking to sweaters in this post – and even more specifically my Juniper spin as the example – the same can be applied to any perfect pattern you’ve found and want to spin for.
The first step is examining the yarn the pattern calls for. Gauge, weight, getting an idea of twist and the elements of the design.
Going off of the commercial yarn’s weight and gauge, that should give you a pretty solid idea of what you’re trying to hit. Take the fibre into account – are you using a super bouncy down wool that’s going to bloom during the finish? Or a denser, smoother long wool that will stay relatively the same? Are you using a mix of fibres that’ll take some elements of all? This is where sampling comes into play – and I’ll talk about that a bit more below.
Twist and elements of the design are another factor to consider. Does your project incorporate tons of lace? Maybe go with a solid colour 2-ply and put less twist into the ply. Are there lots of cables and texture? Up that ply twist a bit, or go with a 3 ply to make those cables pop.
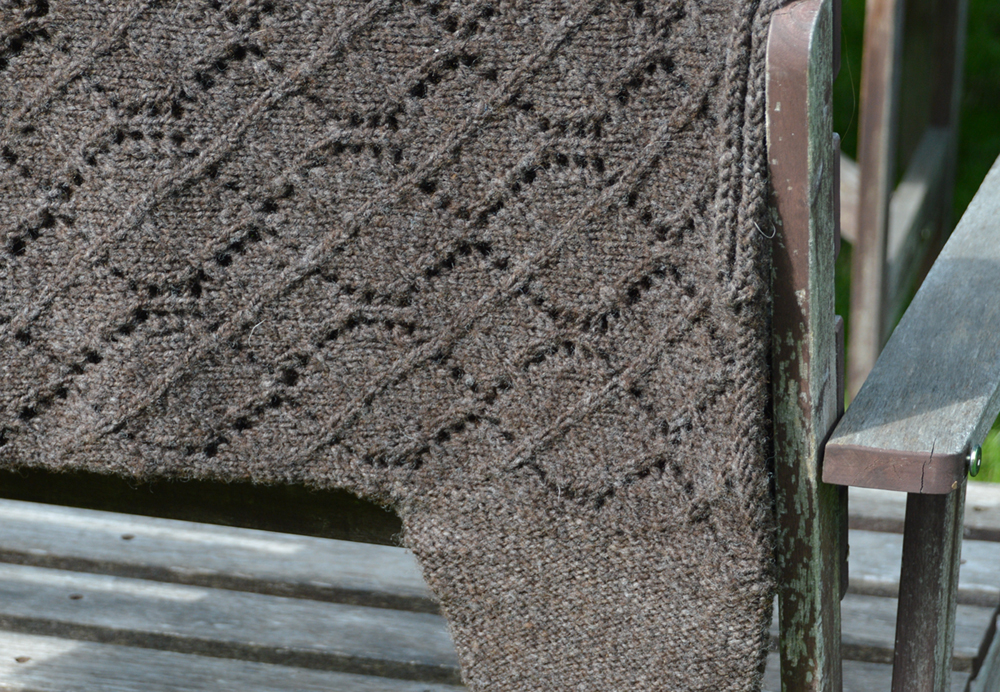
For Juniper the design incorporated cables and lace. I wanted to really highlight the cables, but didn’t want the sweater to be too bulky, so I decided on a 2-ply with a tight twist. The lace would open a bit, but there’d be enough stitch definition to let those cables shine.
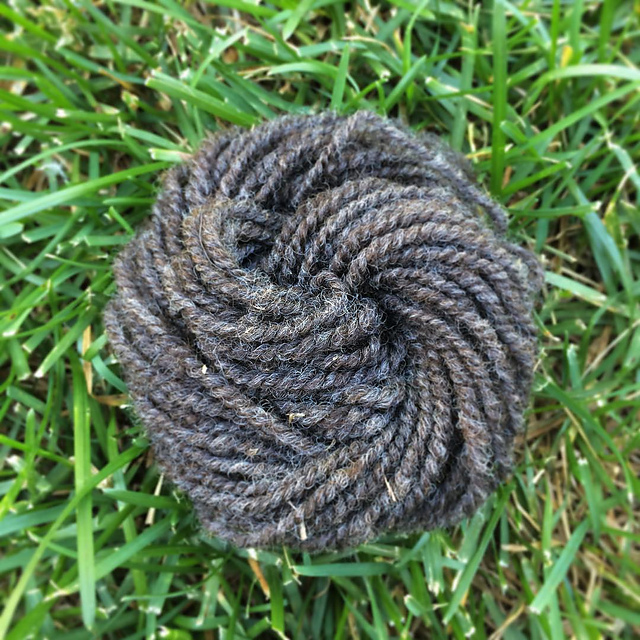
I also knew that my BFL/Merino/Romney had a lot of the bounciness of merino, but the length and density of the BFL and Romney. I ended up underspinning the fibre slightly to preserve softness, and overplying the finished yarn to give structure. My resulting 2-ply looked a lot more like a 3-ply, but struck a nice balance between bounce and drape to let both design elements play off of each other.
Sampling
I know the idea makes some spinners groan, but it really is an incredibly important step if you want to be sure you’re getting the exact yarn you want. It doesn’t take much time, and it can save you massive disappointment at the end.
Take 10-20g of your fibre and spin it how you think you want to spin it for the yarn your aiming for. And here’s the most important part: keep notes. Plyback sample, twists per inch and wraps per inch of the singles, your draw, ratio on your wheel, and any other steps you took for the yarn. These notes will be invaluable when you come back to do the whole spin later. Equally important is to jot down how you finished the yarn; did you snap, beat, full? Since these finishing techniques can very much alter the weight of your yarn after spinning, it’s important to make a note of those too.
I like to do up one sample based on how I think I should spin the yarn. I go through the whole process from prep to finishing and drying, then take my final weight and gauge. If the resulting yarn is what I want right out of the gate, awesome. If it’s not, I take another 10-20g and sample again, changing the elements I think didn’t work the first time.
Swatching
Now that I had my yarn for my Juniper sweater, I needed to match gauge. This is probably the thing that is the true test of handspun, and spinning for a specific project. A lot of handspinners worry about the inconsistency of handspun – you will never spin a yarn that’s as consistent as a commercial yarn. There will always be some sections that are finer or thicker than you intended. I’ve been spinning for 10 years, and while my yarn on the whole is pretty consistent, I still have spots of inconsistency.
But that’s okay, because your yarn doesn’t have to be as consistent as commercial yarn to hit gauge. It has to be all over pretty consistent, but it does not have to be perfectly consistent. All you need is an average to hit gauge, and if you’re an intermediate spinner, you’ll probably hit that mark. If you’re a beginning spinner, whose yarns are still all over pretty inconsistent, but you’d like to spin for specific patterns, I’d recommend starting small; pick a toque, or a cowl, or some socks.
How do you know if your spinning is consistent enough? Gauge swatches.
I know some people hate knitting gauge swatches. I used to hate knitting gauge swatches. I began to come around when I started designing knitting patterns, because it was the beginning of a formulation of an idea. But I also started really loving the act of knitting gauge swatches as a whole.
And there’s something particularly thrilling about them when you begin a swatch with your own handspun. That fibre you so lovingly spun starts to really show its nature in the gauge swatch, and it’s a joy to see it all come together. I get really excited at this stage especially for that reason.
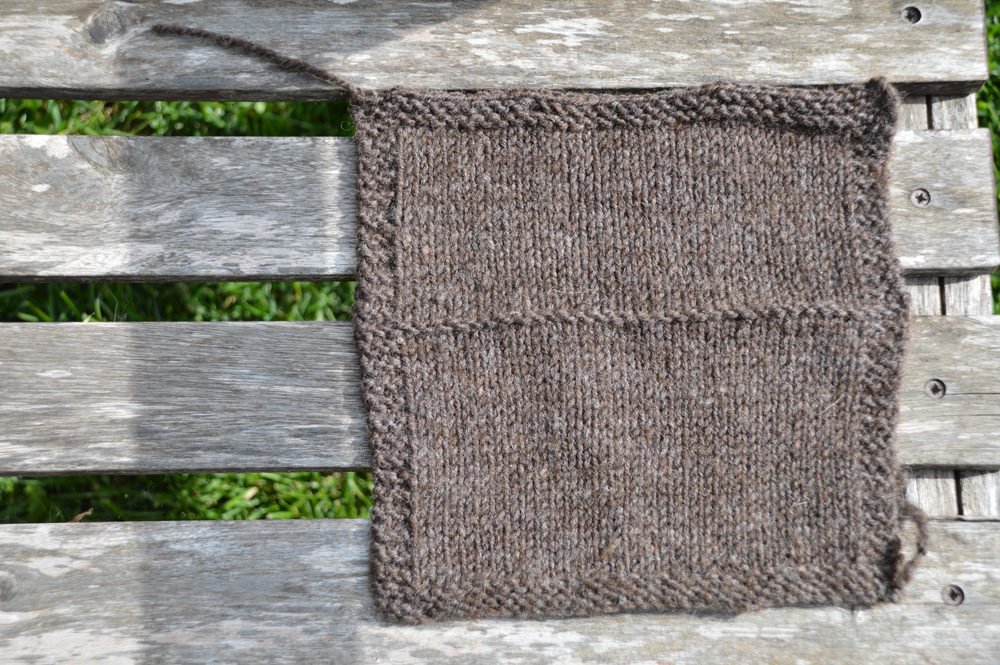
Unlike commercial yarn, and because handspun is inherently more inconsistent, I like to do a really big gauge swatch. If I’m using commercial yarn I generally don’t cast on many more stitches than called for in the pattern gauge, but with handspun I’ve been known to cast on two to three times as many. The reason why I do this is because I like to have a big area where I can take several measurements. I’ll also utilize a few different needle sizes – anywhere from two to four different needles – per swatch.
This is where experience plays a big role, and there’s no way to rush that experience if you’re a newer spinner.
Hitting Gauge
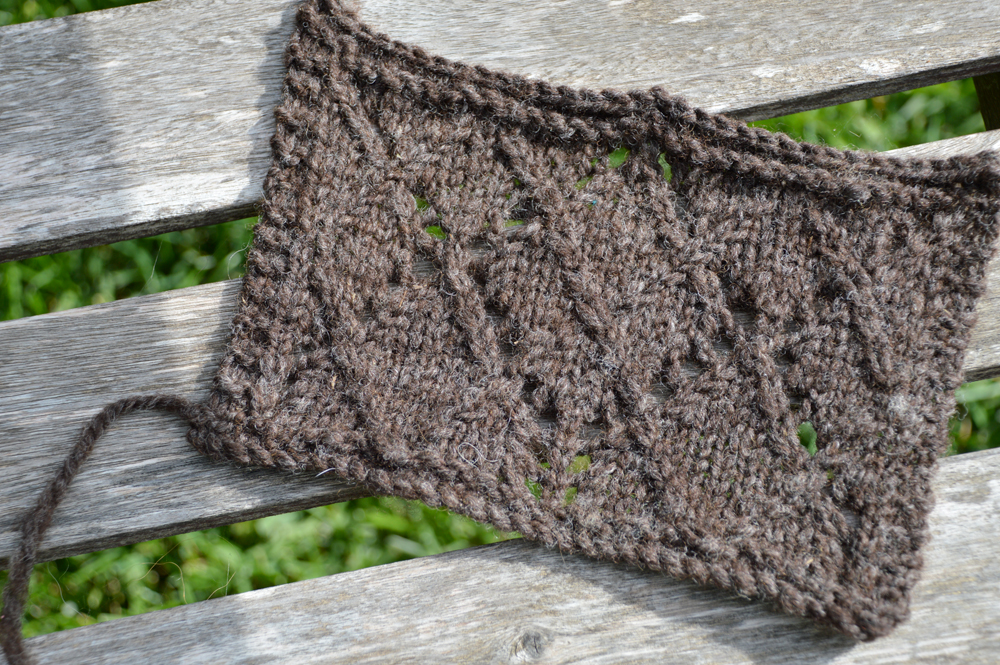
I used the recommended needle size as my jumping off point (5 mm or US 8) for Juniper. The recommended gauge for this pattern is 16 sts x 20 rows, so I cast on about 40 sts so I could really take a few measurements over several sections and average them out. I continued to knit with the recommended needle size for about 15 cm (about 6″). After that section was done I did a few rows of garter stitch, and then switched to 4.5mm (US 7 needles) and repeated.
The gauge for Juniper details that it’s been blocked, so I went ahead and blocked that gauge swatch, then took my measurements. This is another important step – and something I always specify in my own patterns. If the gauge details that it’s been blocked, or unblocked, or blocked a specific way, your gauge swatch must undergo that method otherwise your finished knit will not be the size you were expecting.
I actually ended up liking the look of the fabric with the 4.5/US 7 needles, but my stitch gauge was pretty spot on with the 5mm/US 8 needles at 17 sts/10 cm (4″). My row gauge was off with both needles, but that was easily adjustable because I could just add repeats in for the body – which was something I had planned to do anyway.
But wait, you say, your stitch gauge is off, what do you do?
I had actually planned on knitting Juniper with a lot less positive ease than recommended in the pattern because I wanted something more form fitting. I was knitting the smallest size, which was bigger than my chest circumference, and I was looking for a finished sweater with no ease. I was also altering the pattern to be knit in the round, rather than separate pieces that need to be seamed (I really, honestly suck at seaming). There was an extra quarter of a stitch needed to make up the same gauge, which would eat up any positive ease I was looking to get rid of for my finished sweater, plus I didn’t have to worry about that extra space needed to allow for seaming since I was knitting my body in the round.
That’s a lot of elements I just threw at you, I know.
That’s all of that stuff that just comes from experience, and you don’t gain that experience without doing. This was my first handspun sweater and it could have been a disaster, but I’ve been a spinner for 10 years and a knitter for almost 20. This wasn’t my first rodeo with either using handspun or knitting a sweater, so I could manipulate to elements and get a relatively expected result.
Get Your Knit On
You have your yarn, you have your gauge (and any adjustments to the pattern you needed to make) – it’s time to dive in and knit your new most beloved item.
I’m really glad I went with a sweater that was easily adjusted to be worked in the round so I could try it on as I went – if you’re knitting your first handspun sweater it’s an awesome way to go so you don’t end up having the whole thing done, only to find out after you seam it together that it’s a wacky shape.
My first sweater spin was a success, but it very well could not have been. If you’re jumping into a first sweater spin, I hope yours is a success too. But, if it’s not, don’t let it dissuade you. I’m a firm believer that the best learning experiences come from failure, and without those failures we wouldn’t learn what we need to get to success.
And remember: fibre is not a finite resource. There’ll always be more wool and more patterns to experiment with next!
